Hello there, my loves! This post, as well as some in the future, are little bits and pieces of a very large project I will be revealing at a later time. But I love the idea of company along the way, so I am going to share everything I can on this crazy awesome journey.
Lucky for you, today is going to be explained with more pictures and less rambling. I bet you’re sighing with relief right now.
I did this project for a friend to see if it could even be pulled off. And I have to tell you, I’m pretty proud of it. I think it turned out better than my inspiration picture, but we will let you be the true judges. Let’s get into it!
I picked up one of those faux brick panels that is in just about every hardware shop. Lowes is the closest to us, and that is where I got mine. I believe the price was right around twenty-five big ones. Now, be warned, no matter how many seats you put down or how many attempts you make to shimmy it in sideways and slam the trunk, it is not fitting in a car or an SUV. You need a truck for this baby.
Here is our ugly duckling straight from the store:

I bought my three main colors for the brick from Home Depot because I do like Behr paint. I chose these colors at random, and it was one of those miracle times they just worked out perfectly:

I got inexpensive brushes and just dry brushed the colors on in a random pattern, one at a time. If you’re me, a little music and wine definitely helps with “random.” I started with the red, the chocolate, and then the tan. After that it needed something a little more, so I chose a black I already had and did the same thing. Some bricks I left the brush marks, others I took a paper towel and wiped it immediately after I put the paint on, taking some of it back off and smearing the paint. Now… there is a time in every project when you are going to step back, say, “What in the world have I done!?” and want to just quit and call it a loss. This is that time. But heck no are we letting the craft world win!


The grout is where our hard work all comes together. I chose Anonymous in Behr paint, but had it made at Lowes so I could get it in a quart of the Super Flat. It should last for all the panels I have to do (maybe five) and then some.

So this is the tedious part where you can just get a thin brush (I cut an angle on an old craft paint brush from Walmart), restart the music, and paint your little heart out. Just about the time your mind wanders far enough out of boredom to begin contemplating the true meaning of life, you’re done!

But what’s this… that is some pretty stark grey! A little too much in your face. To blend it in with our “weathered” bricks, I dry brushed a little antique white craft paint throughout the grout, and then sanded it all with an 80 grit sand paper.

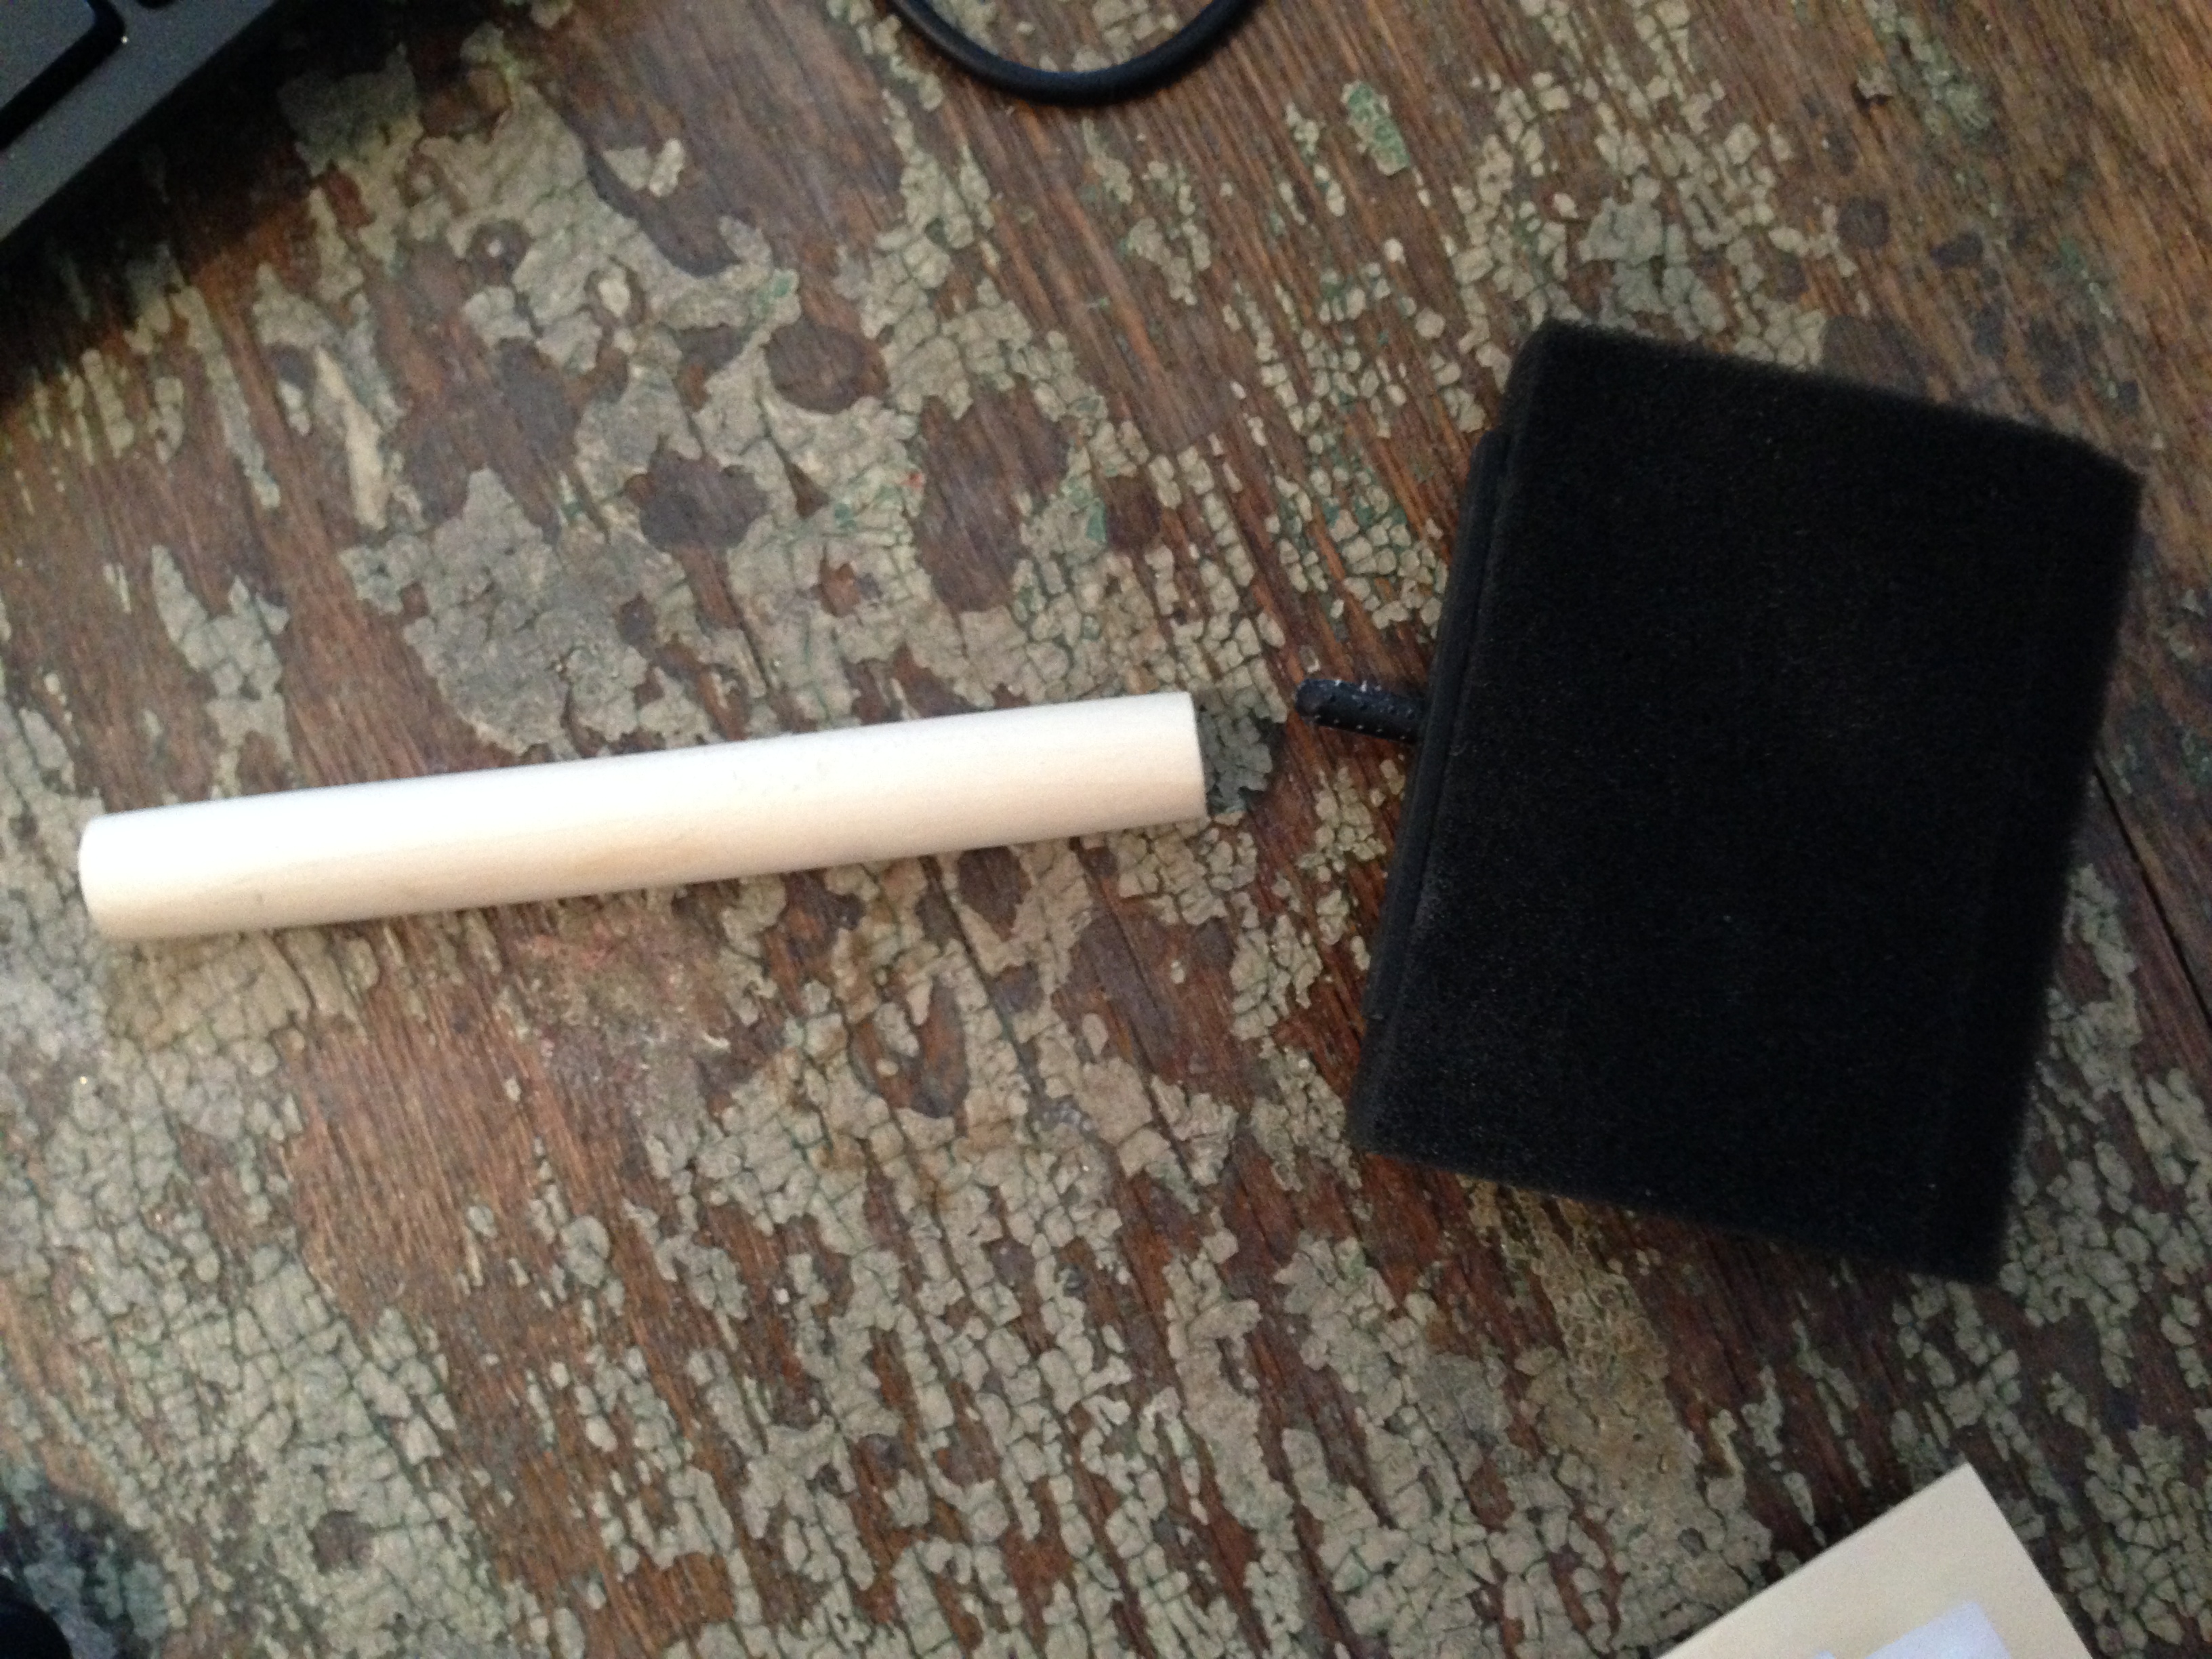
To get in the grout lines without sanding the brick parts as well, I took a foam brush, detached the foam part, and wrapped the sand paper around it. Worked like a charm.

Now, step back and fall in love. Ugly duckling? Psh, more like beautiful swan! And all the hard work was totally worth it!


