For this project, I actually have pictures displaying most of the steps I took to complete this project. Which, if we’re being completely honest, I would love to make a “big girl” version for myself out of maybe a large armoire. Hmmmm….
Because this was for a good friend, I did the whole trial and error right on the project, instead of testing it ahead of time. It’s not something I suggest, but at least this way, as we go through it, I can tell you what not to do.
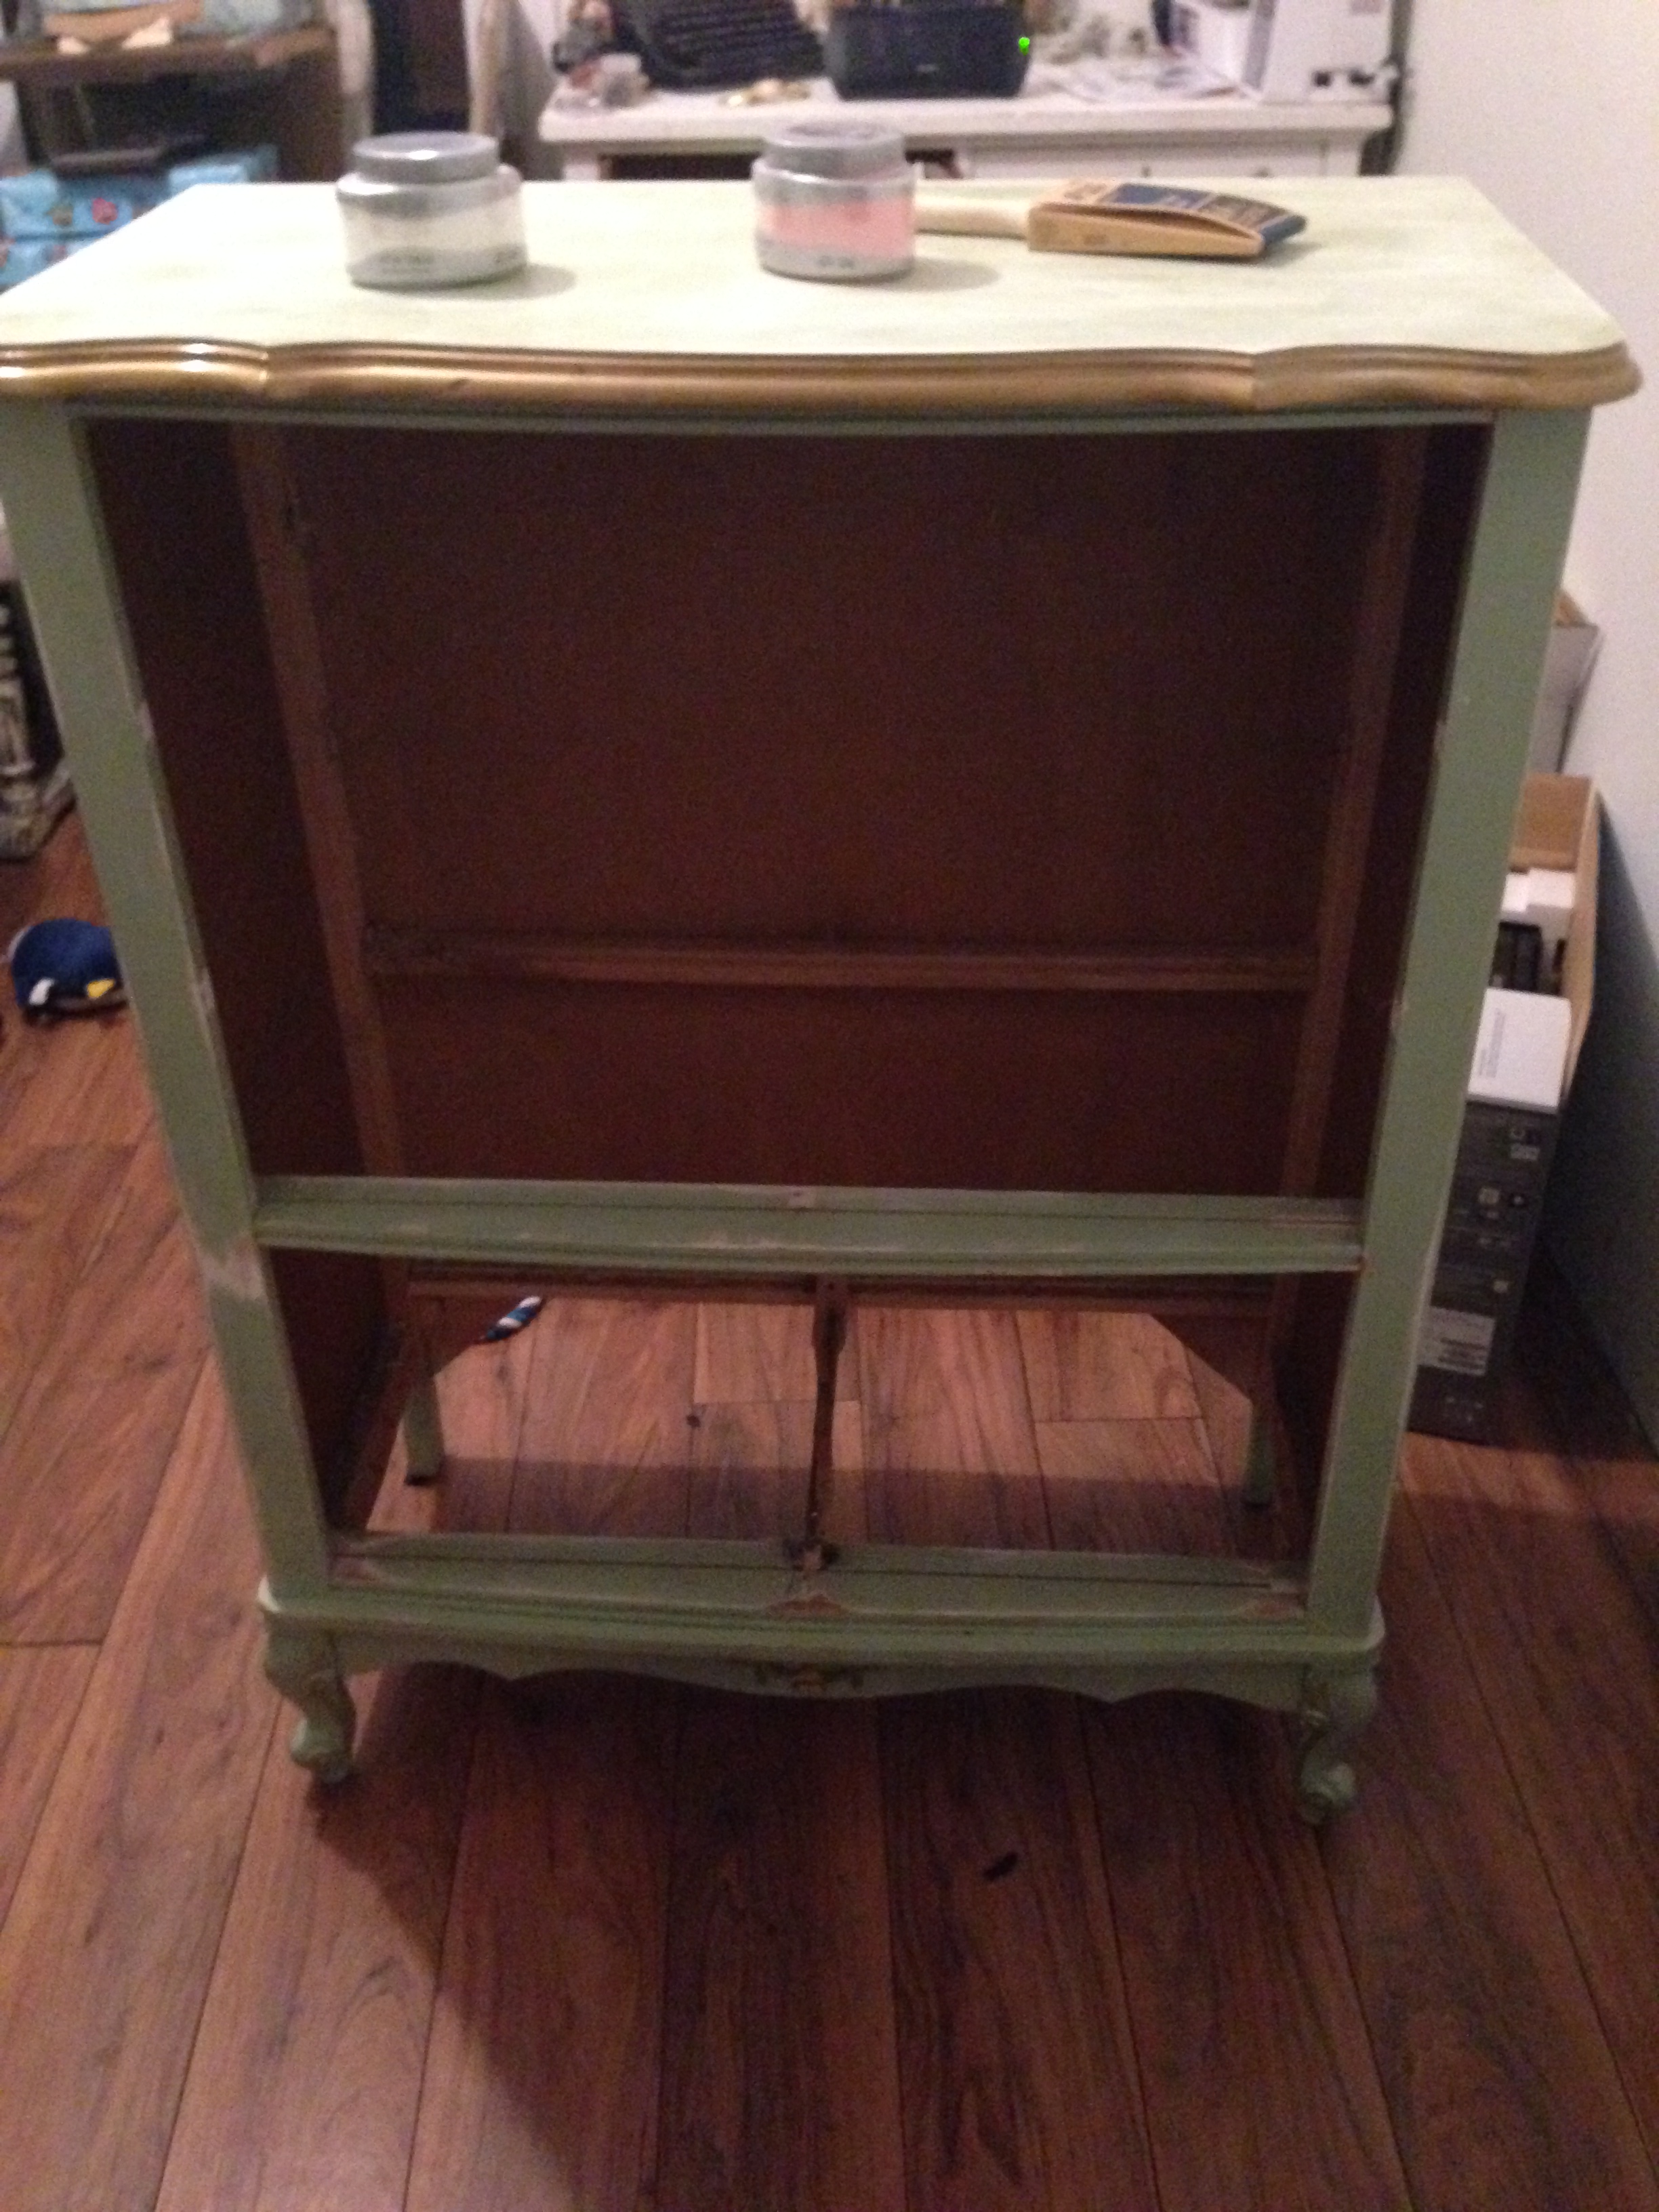
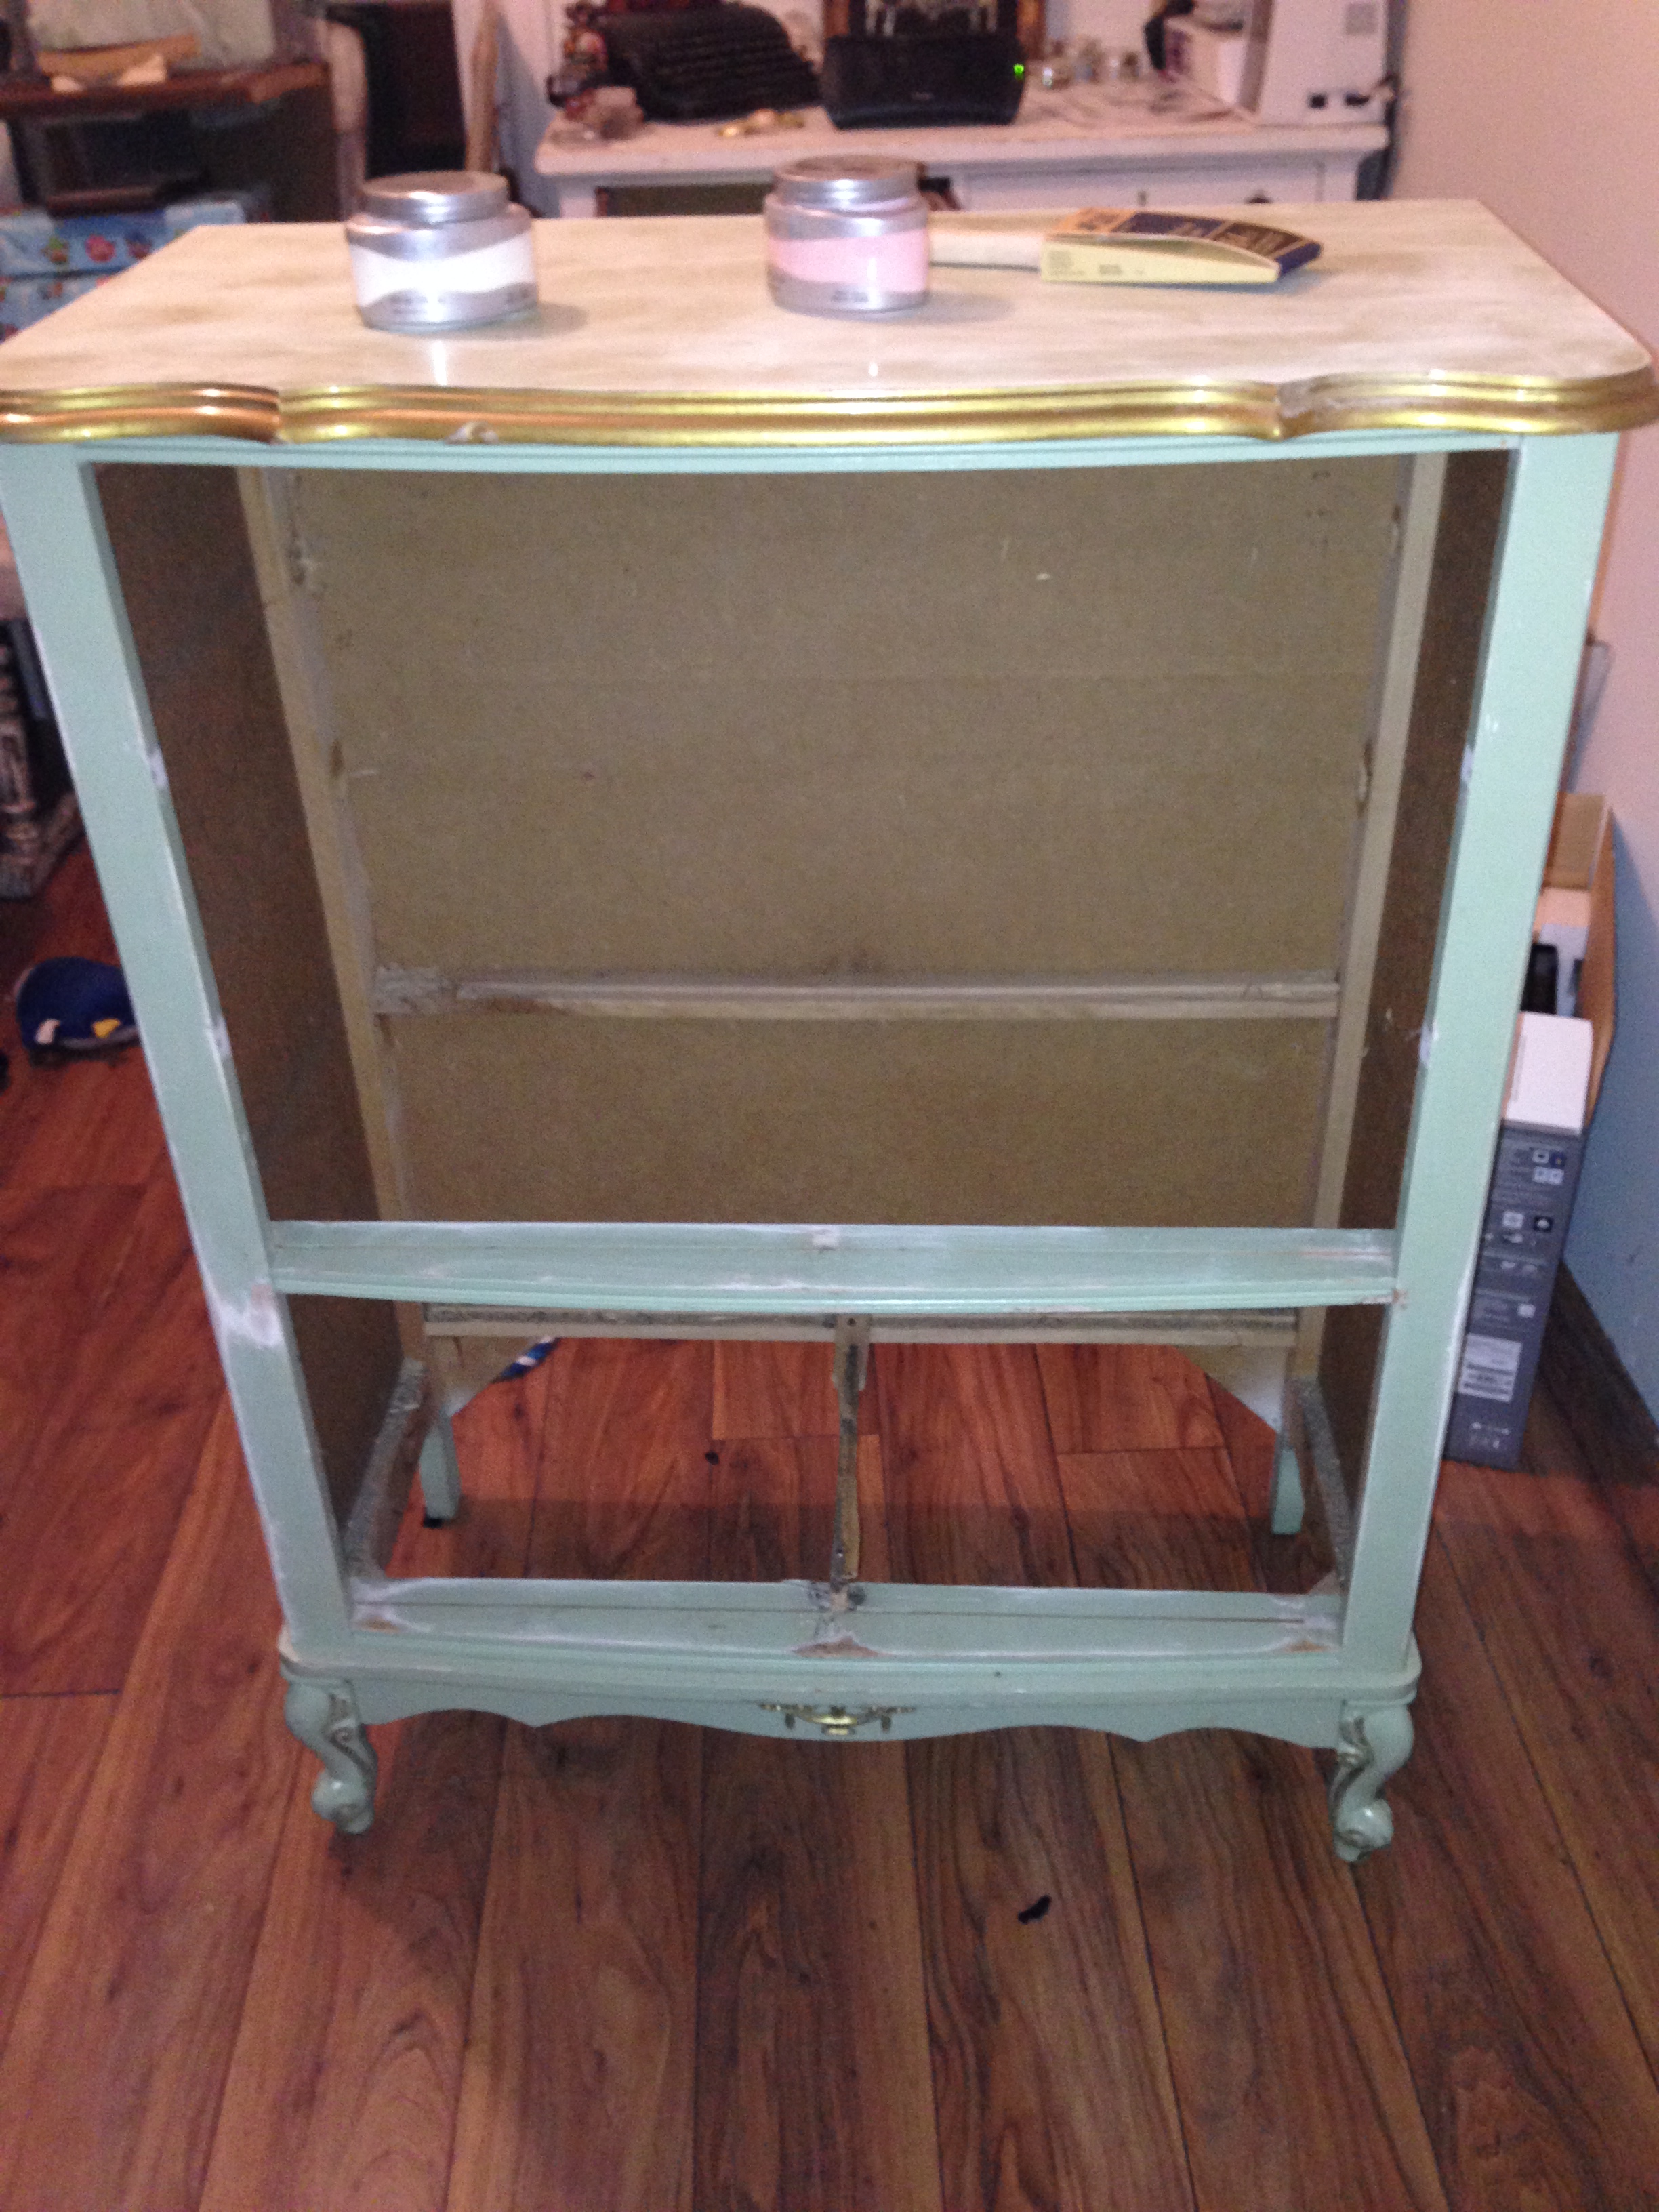
As always, I don’t have a full “before” picture (I swear I’m working on remembering). But I did stop after ripping all the drawers out and cutting the top two rails with a circular saw to take a quick picture because a little sweet voice came in my head that sounded just like my BFFR Mary that said, “Ugh. Hello! Didn’t you take any before pictures!?” So here they are:
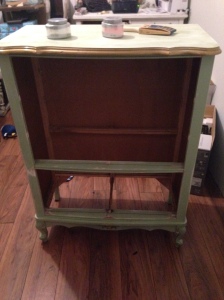

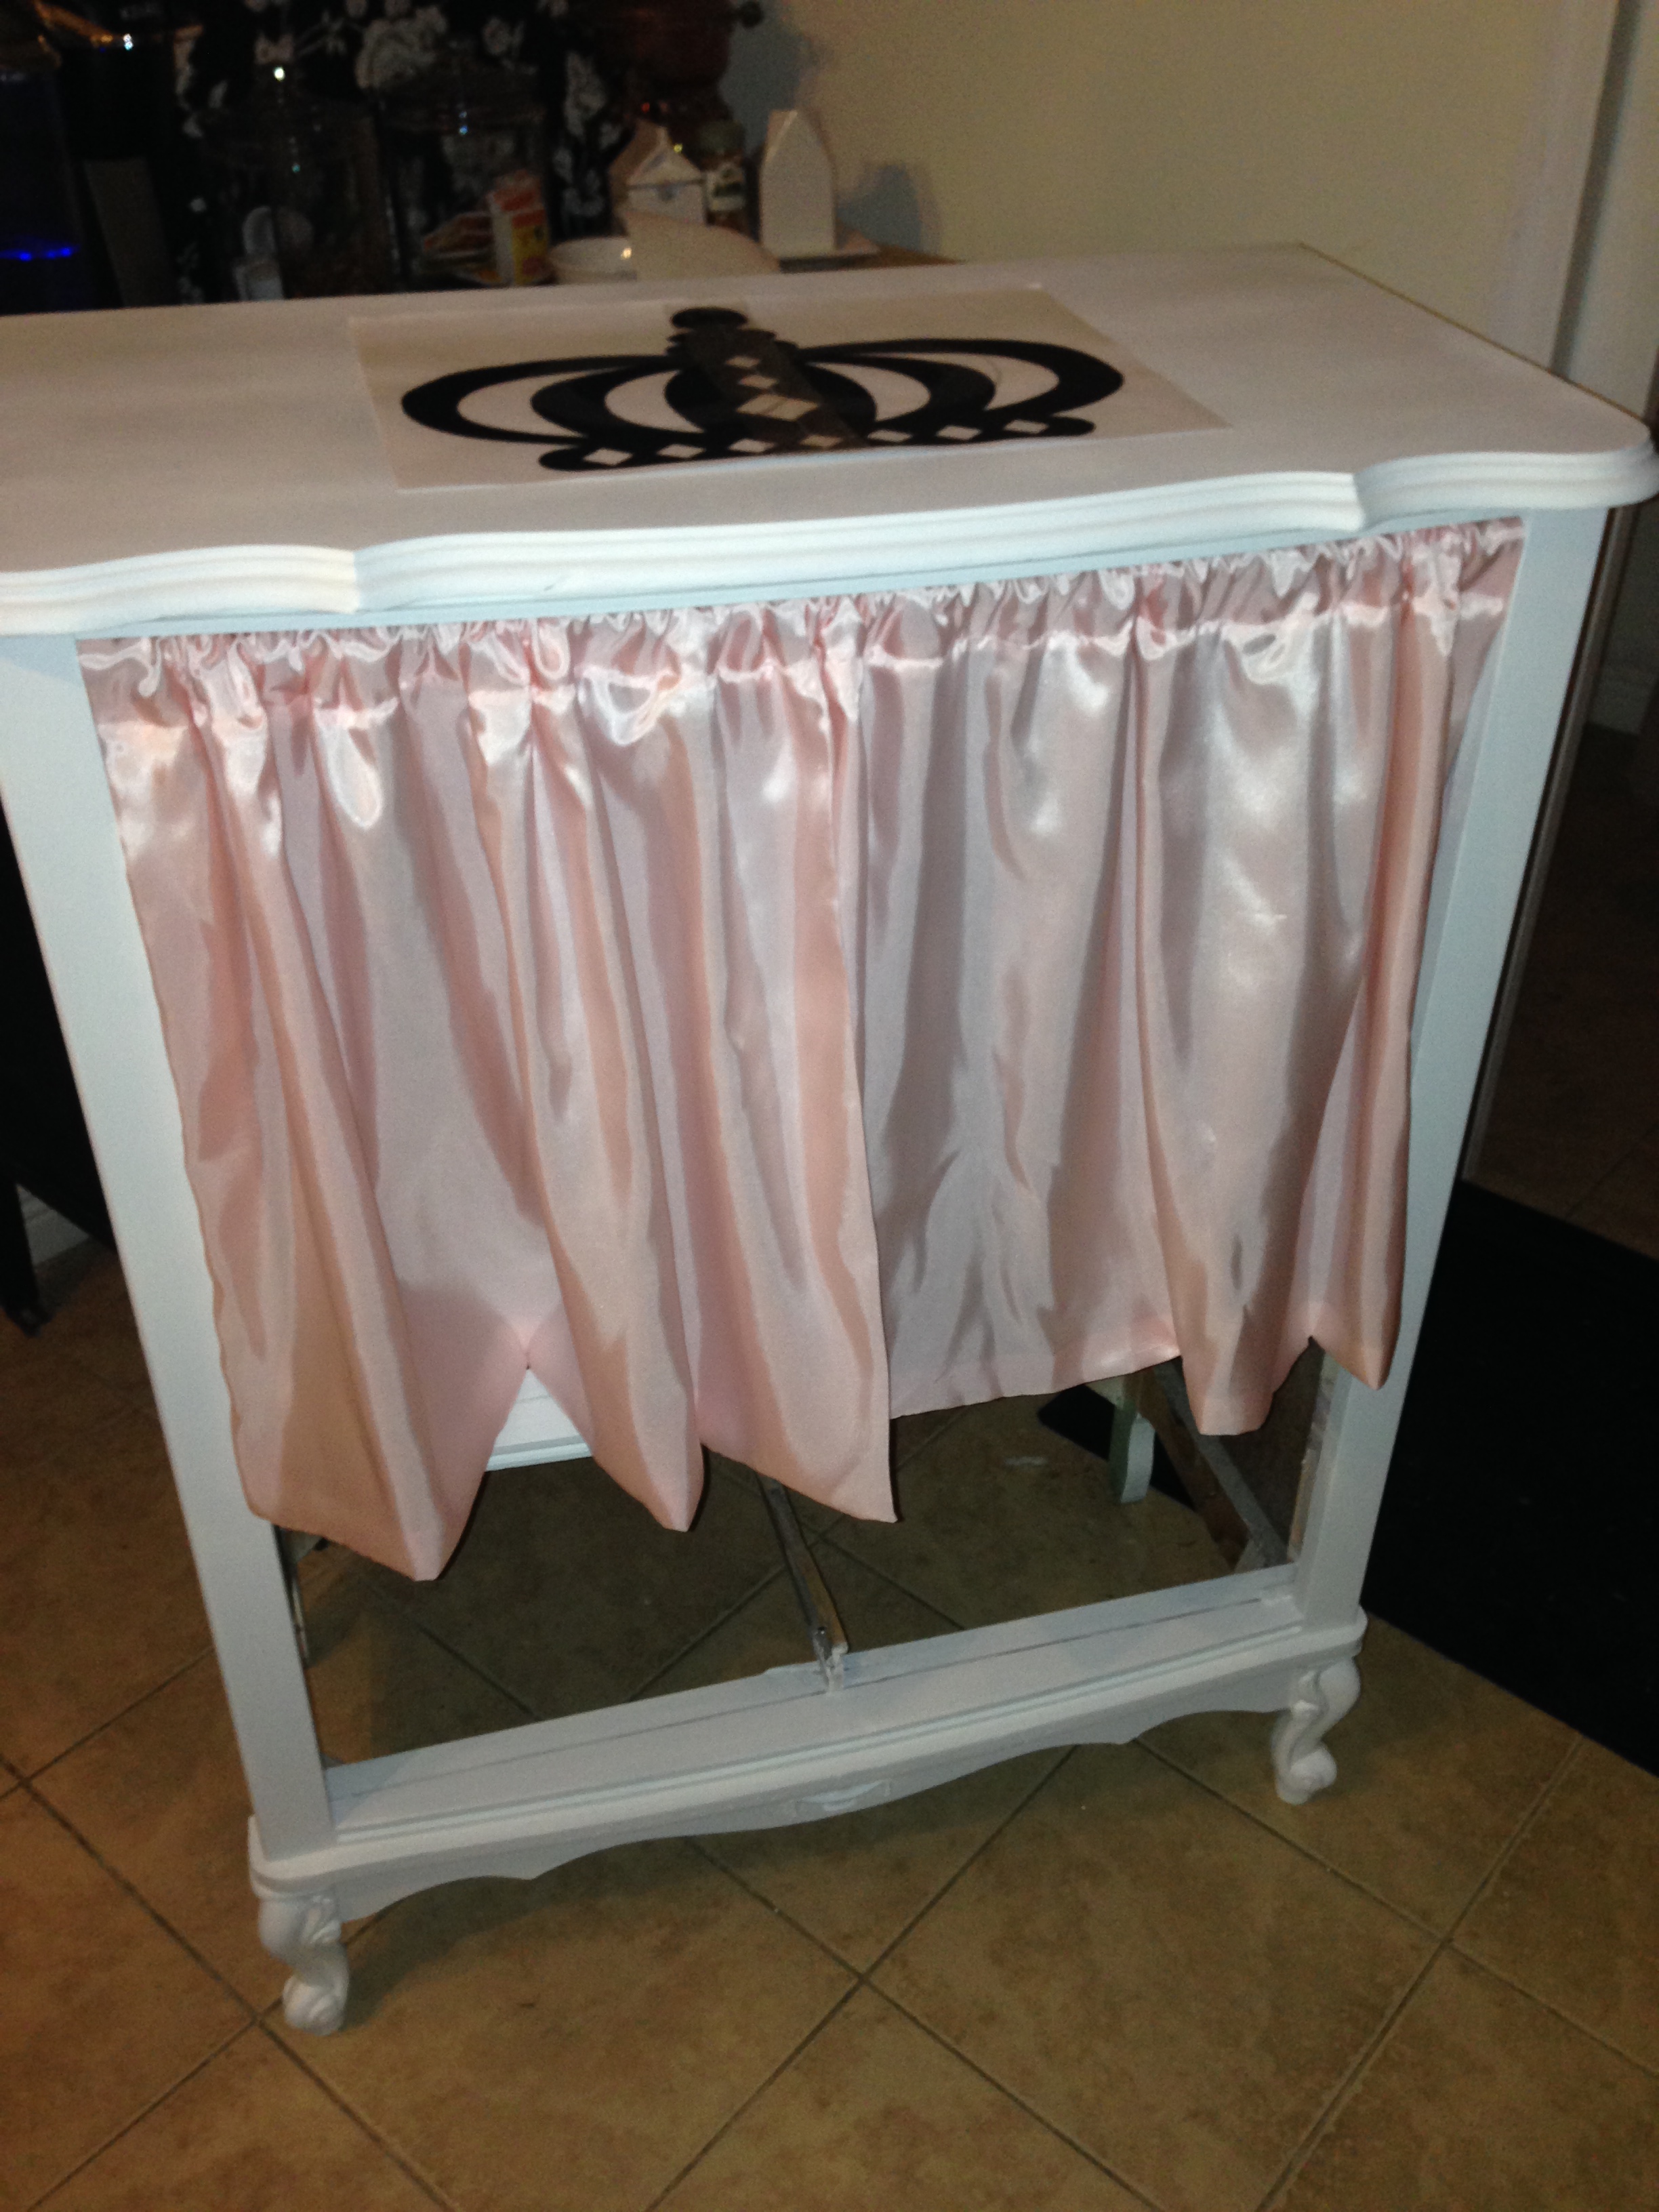
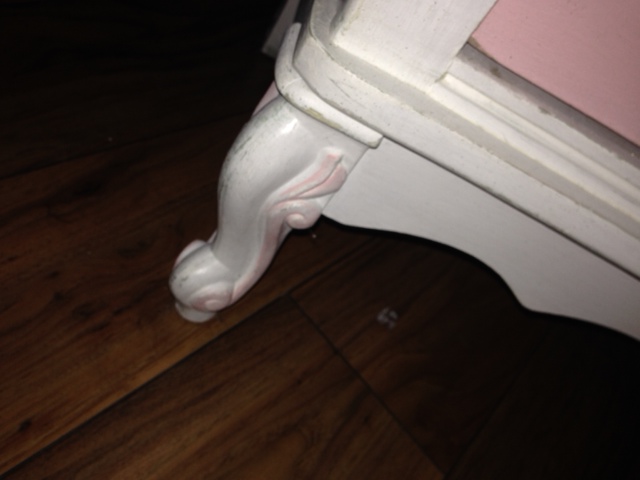
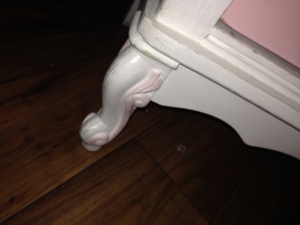
Now, what the poor lighting won’t really let you see (because who knows what time of night this is), is that the colors were green, gold, and more of a pepto pink. Don’t get me wrong, I like those colors. But it just was not matching up with the feet of this darling little dresser. I was on a mission for all things girly: White, pink, and — oh, yes — glitter. (If only glitter were a color, right!?)
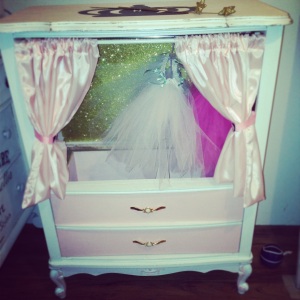
This is with two coats of my homemade white chalk paint, adorned with the curtains I made out of a pink satin (on clearance: score!) and just secured it across the front with a silver tension rod. You can get them out of the curtain rod section of walmart for about $2 to $4, depending on the length you need. I was also trying out the crown to make sure it was the one I wanted:

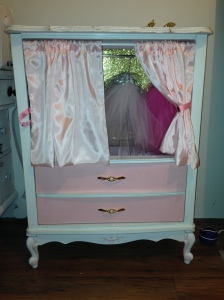
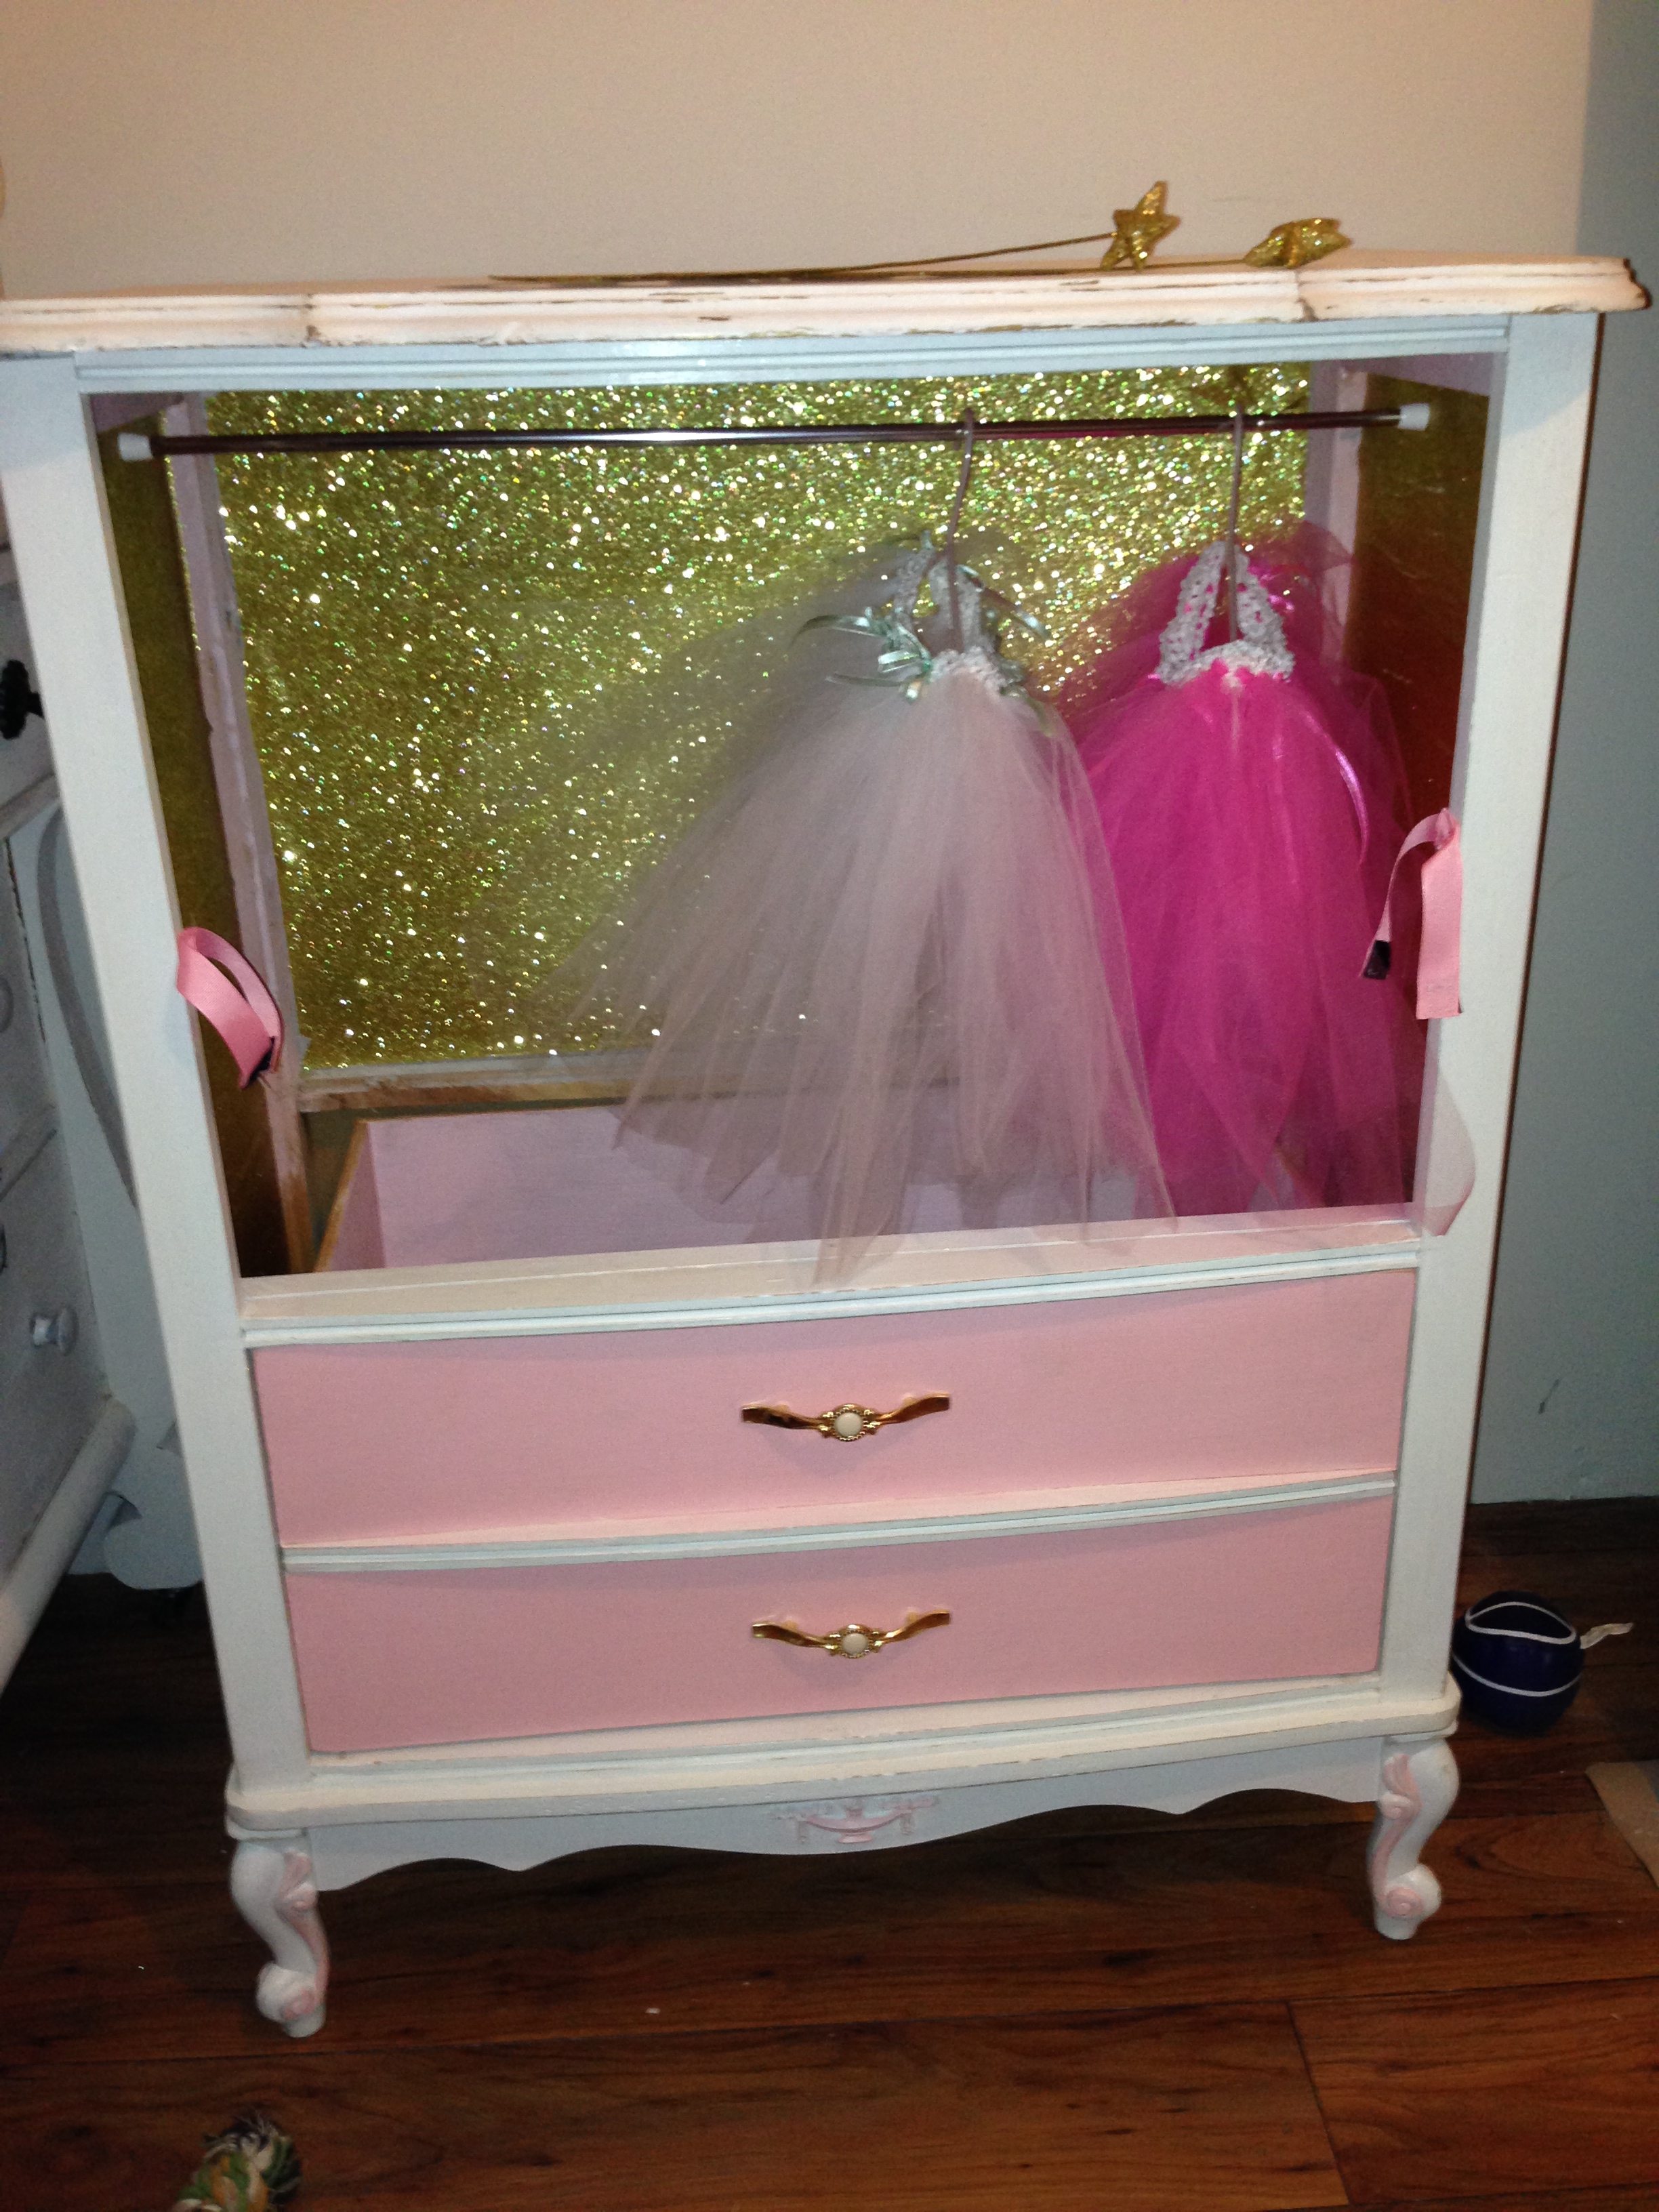
Because this was right after Christmas, I found some of THE BEST wrapping paper on sale: Gold Glitter! Heck yes. I lined the sides and back with it, and it was instant magic. Here is one of those quick lessons though; modge podge is not what I would use for glitter paper. It did keep the glitter more in tact and stopped it from really flaking off, but on the downside, it just really didn’t let the glitter shine in the light like you want it to. So after I put the side pieces on with modge podge, I realized it just wasn’t what I was looking for. The glitter was more matte, and it bubbled, which is another thing that scared me. The bubbling issue may well have been my application due to my lack of experience with modge podge. Either way, I reevaluated my adhesion strategy and decided to put the back piece on with spray glue (Scotch Super 77 Multi-Purpose Adehsive) and a layer of E6000 around the edges. Worked like a charm I tell ya. You can see the way the back reflects perfectly now, shining magnificently:
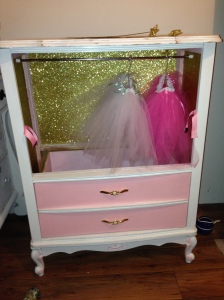
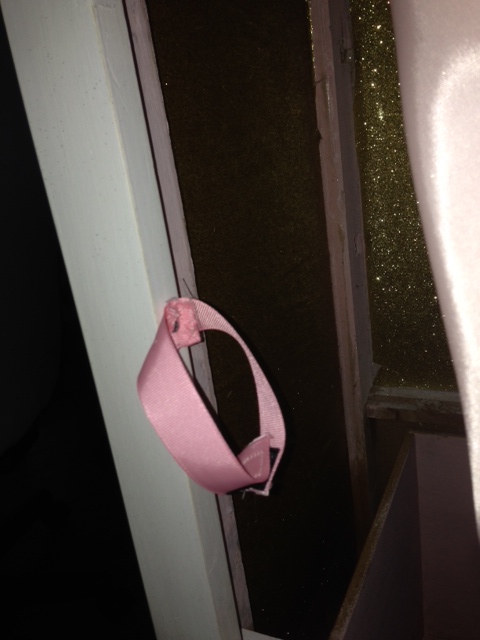
The very reason I made curtains in the first place was to hopefully be a little more munchkin friendly. Swinging doors just didn’t seem like a good idea at face height. I decided the best thing would be to secure some tiebacks with velcro on them. I picked up some pink ribbon, cut about an 8 inch strip, and sewed velcro at both ends. Because I know I am pretty rough on things myself, I figured I better reinforce the ribbon. I cut another 2 inch piece of ribbon, folded it in half, and sewed it together. Finally, I used two small screws (one each) to fasten them to the sides of the opening; the screw went into the reinforcement piece, then through the ribbon, and into the side of the dresser. Easy peasy!

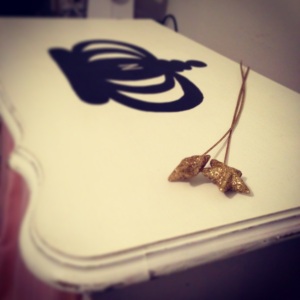
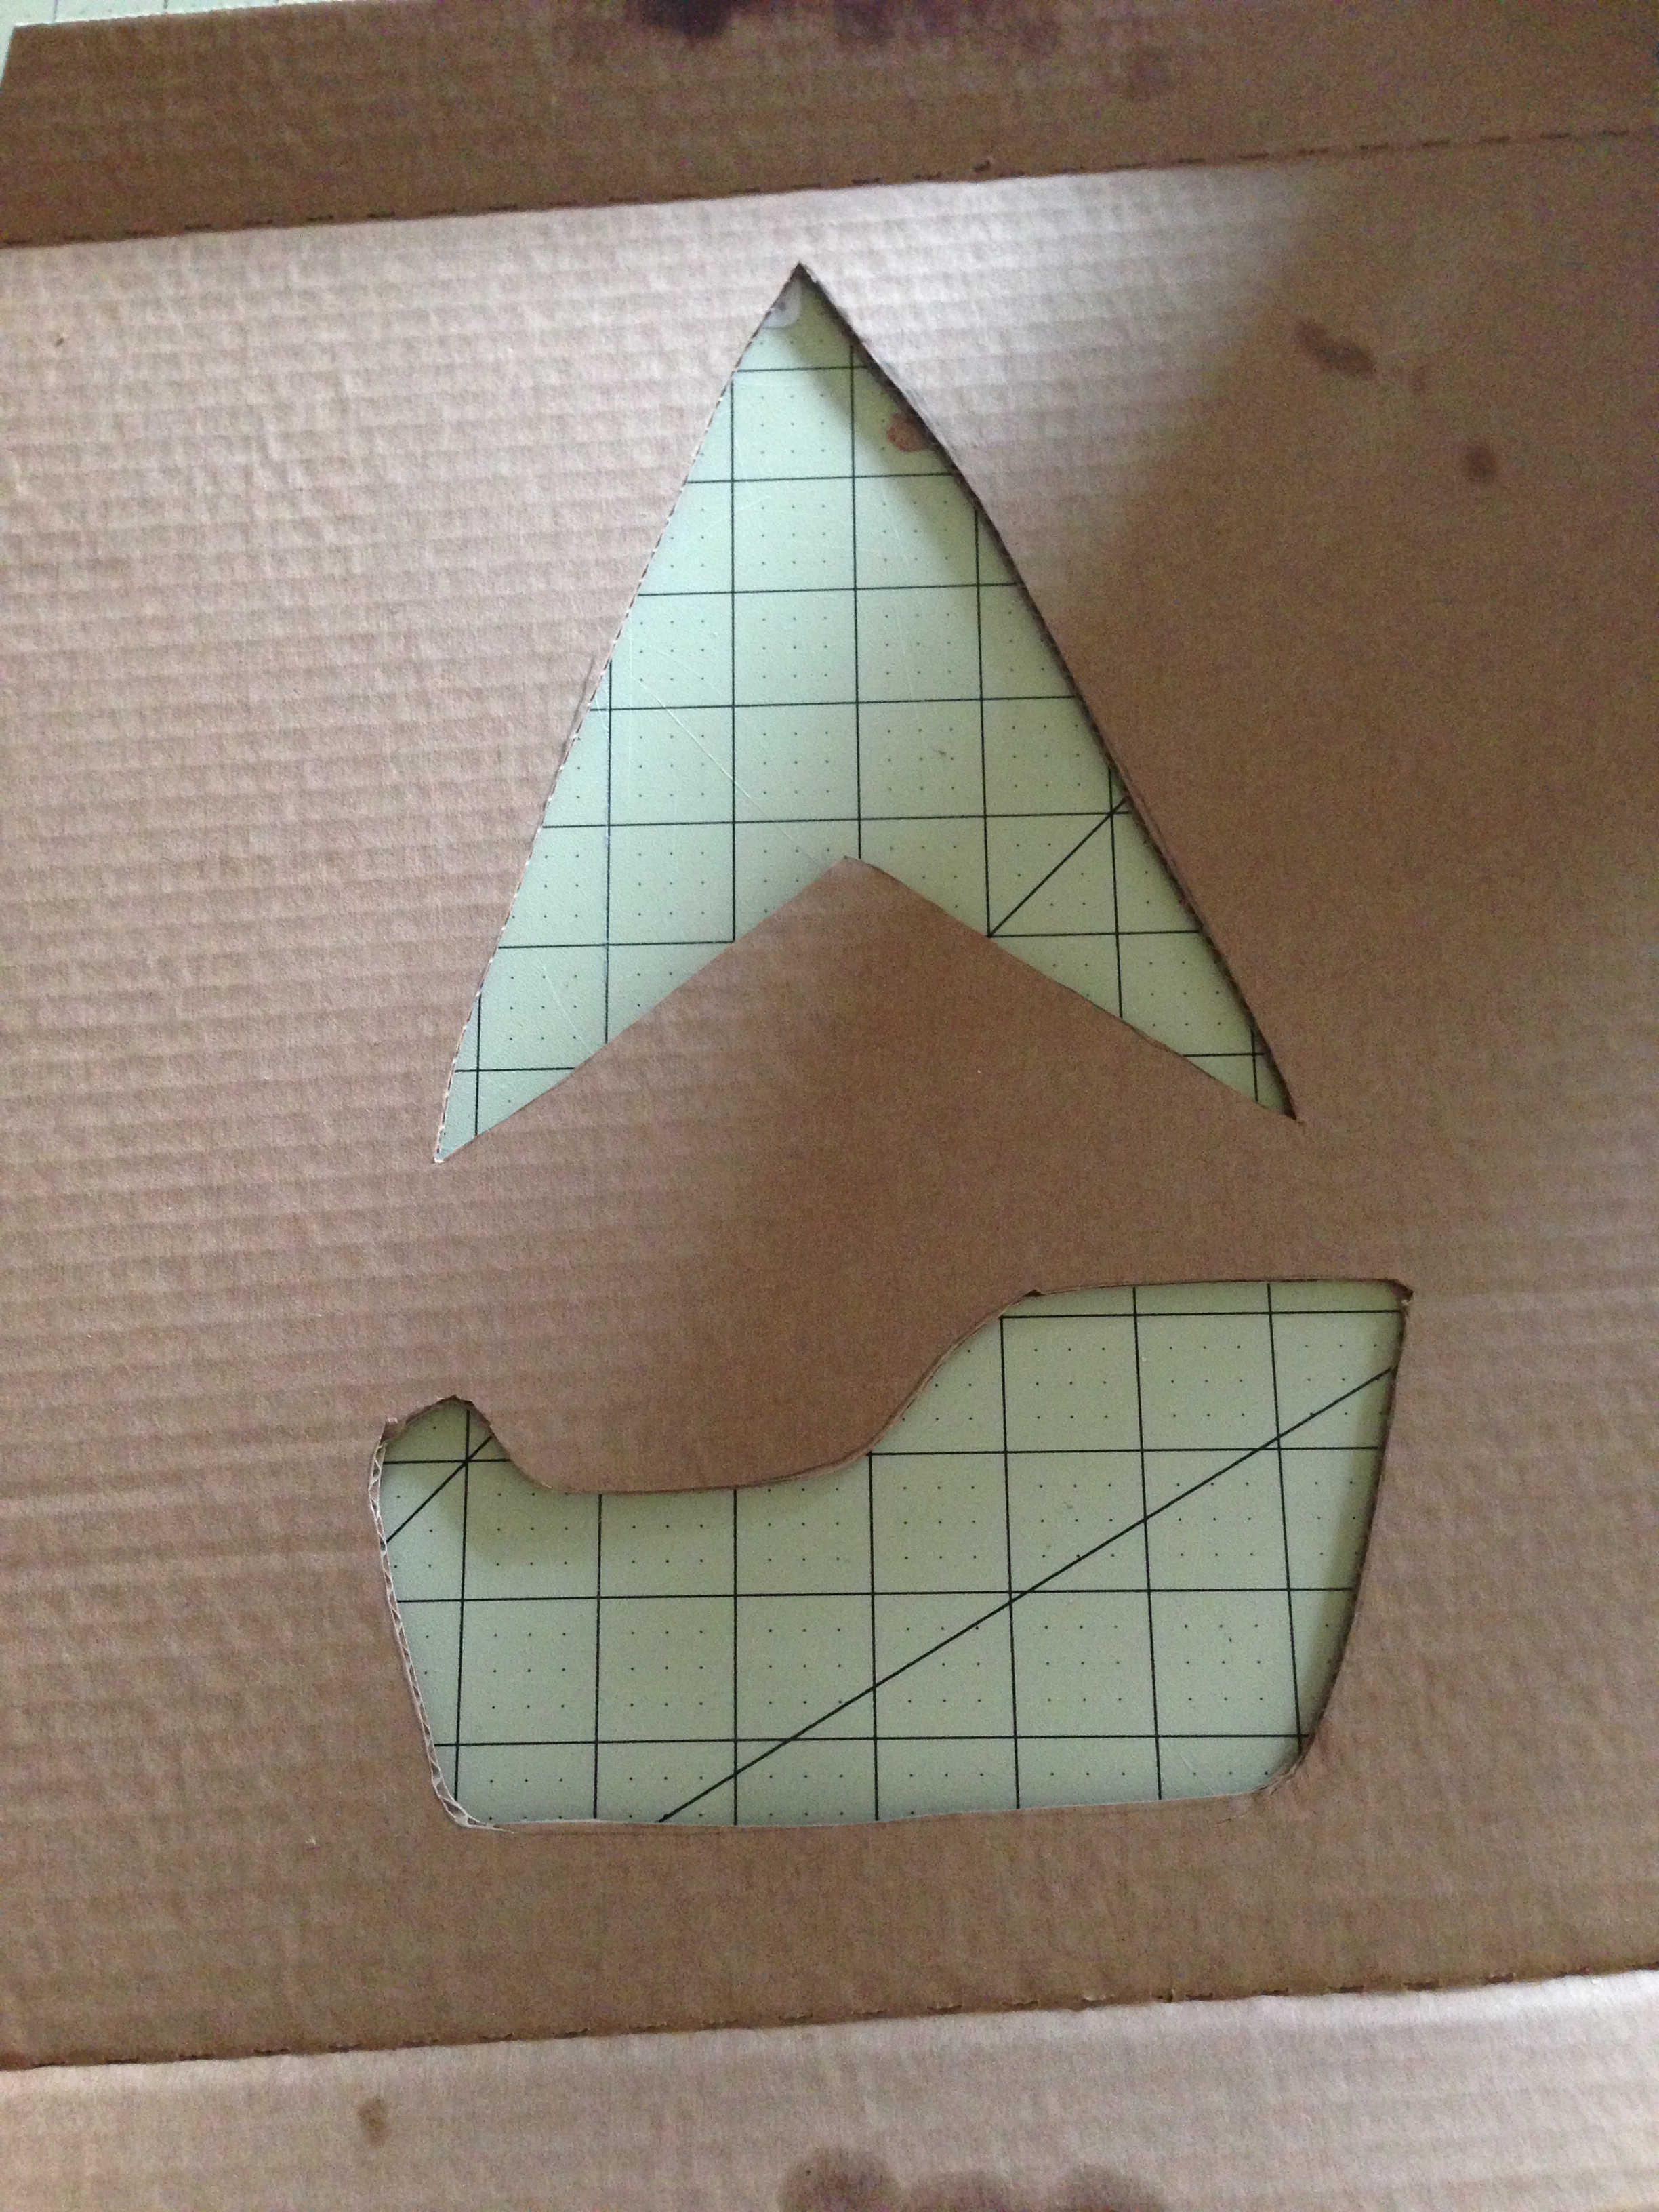
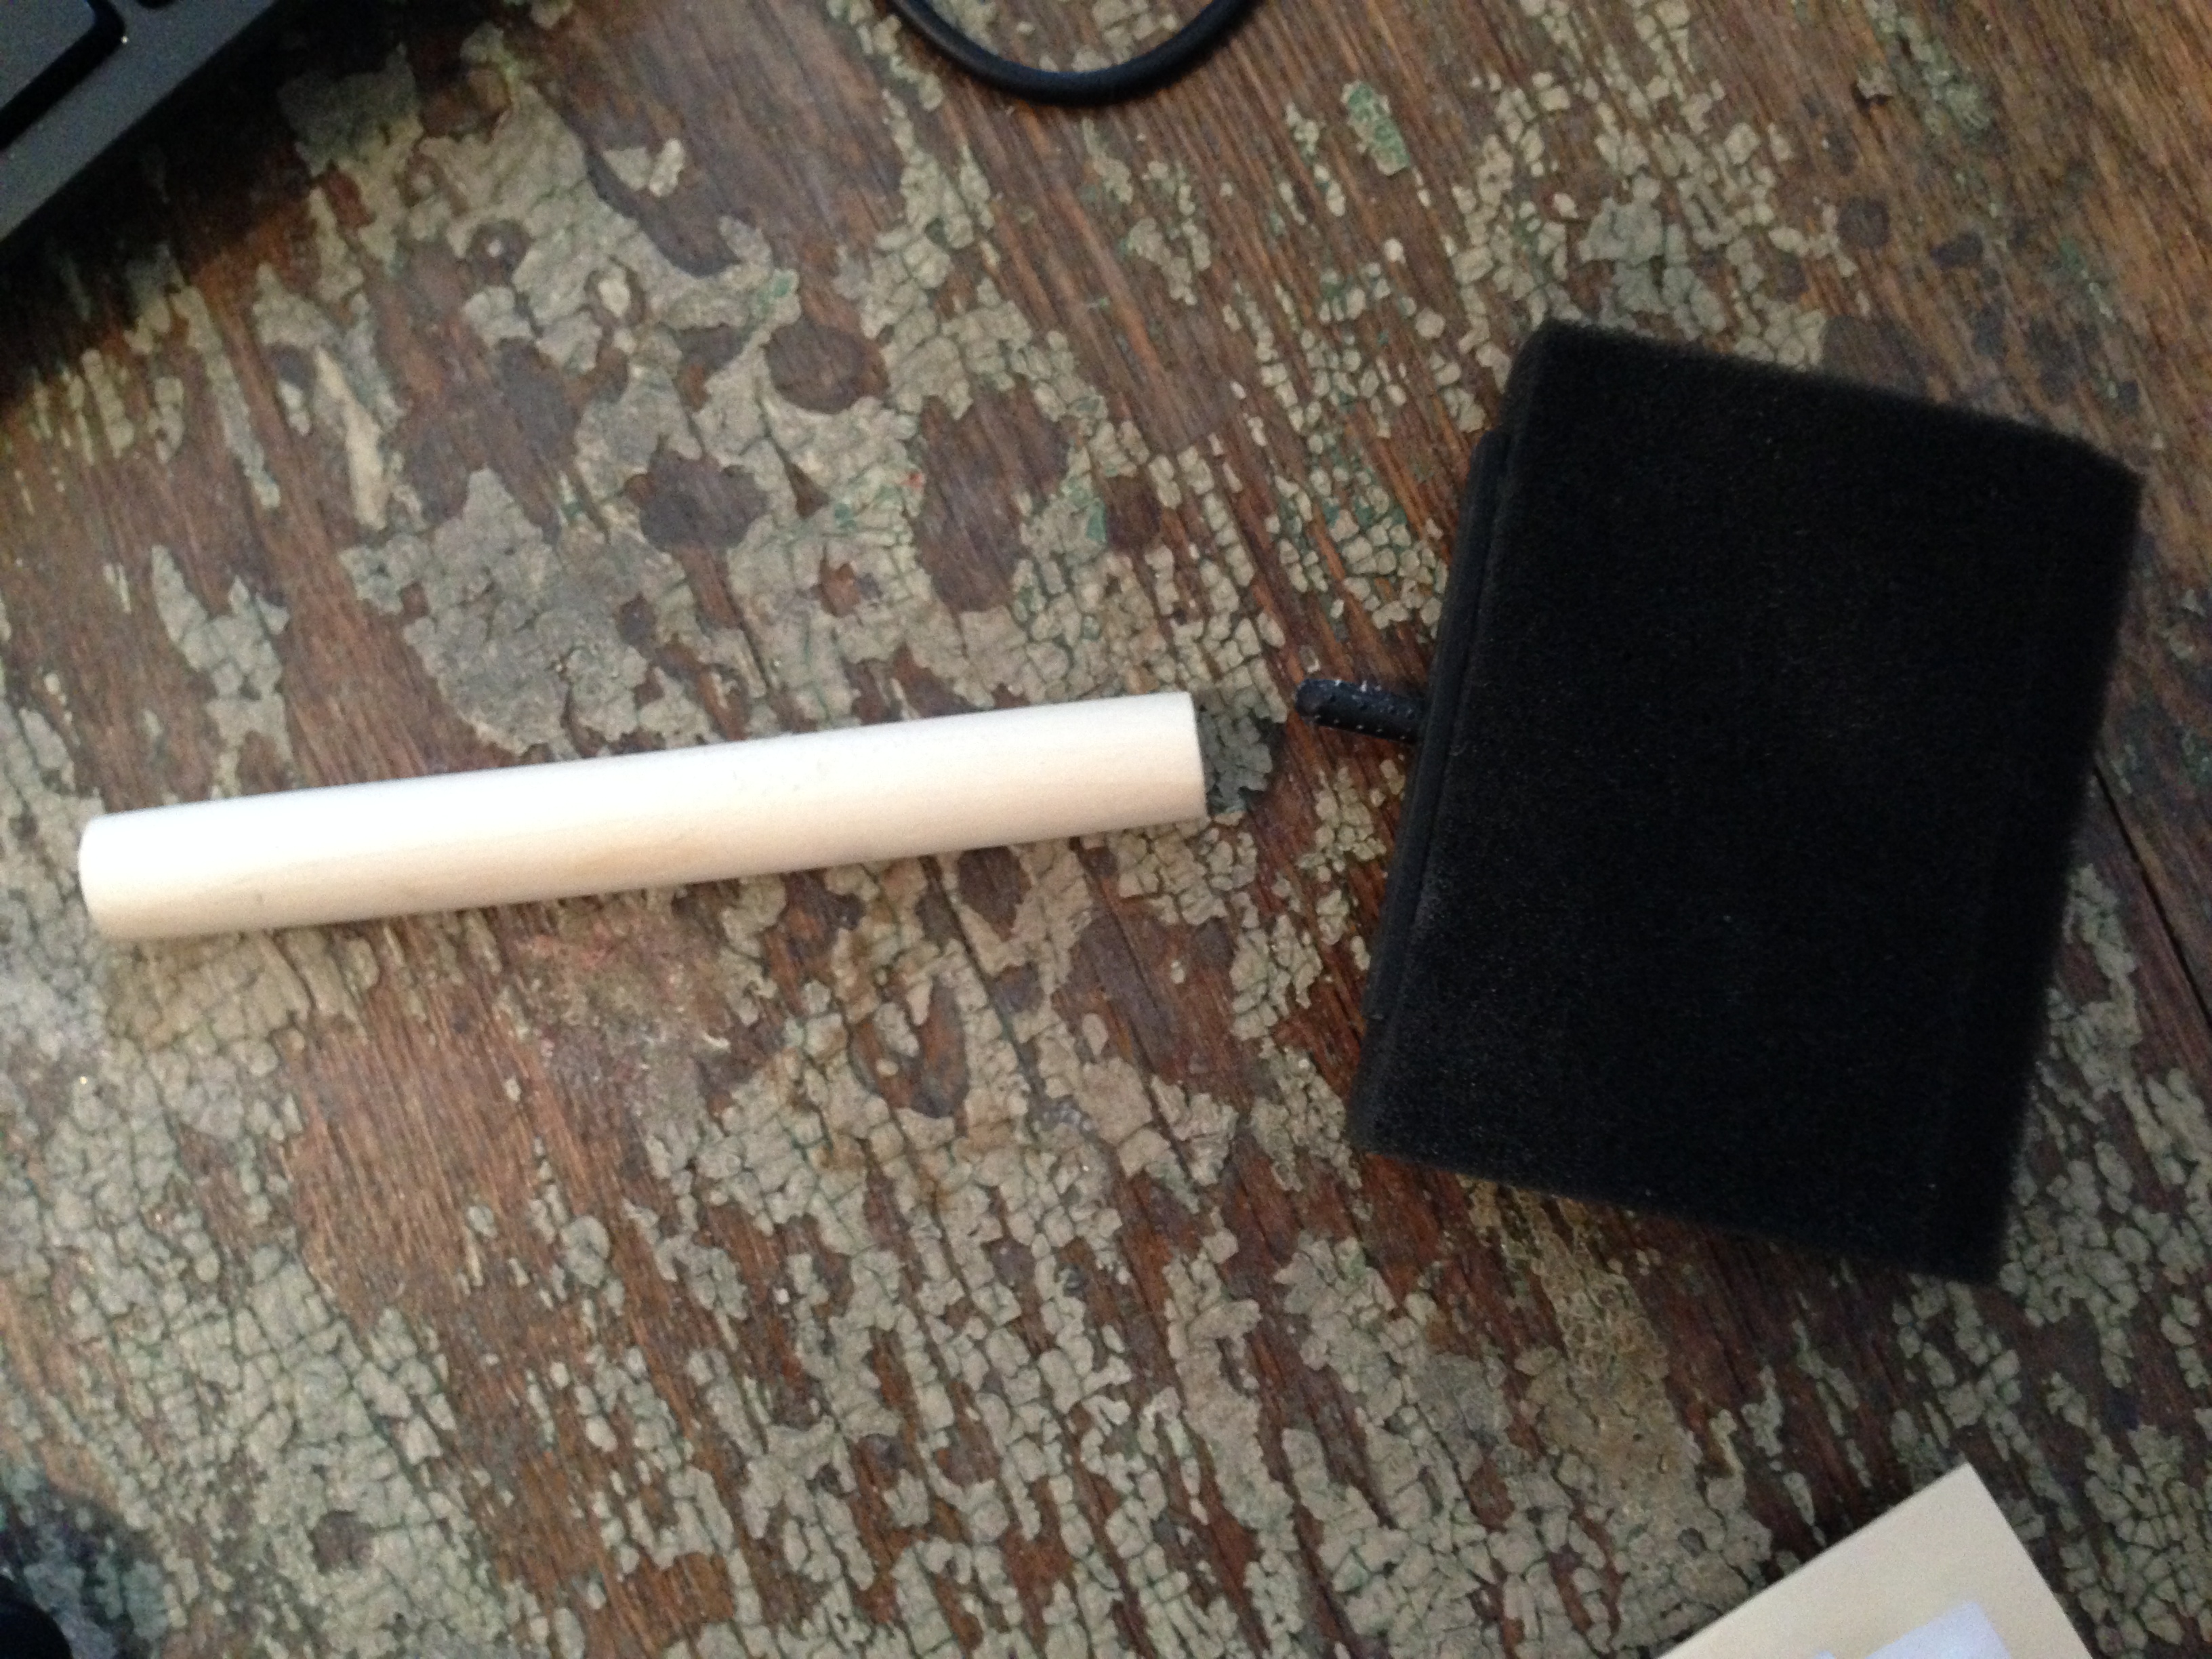
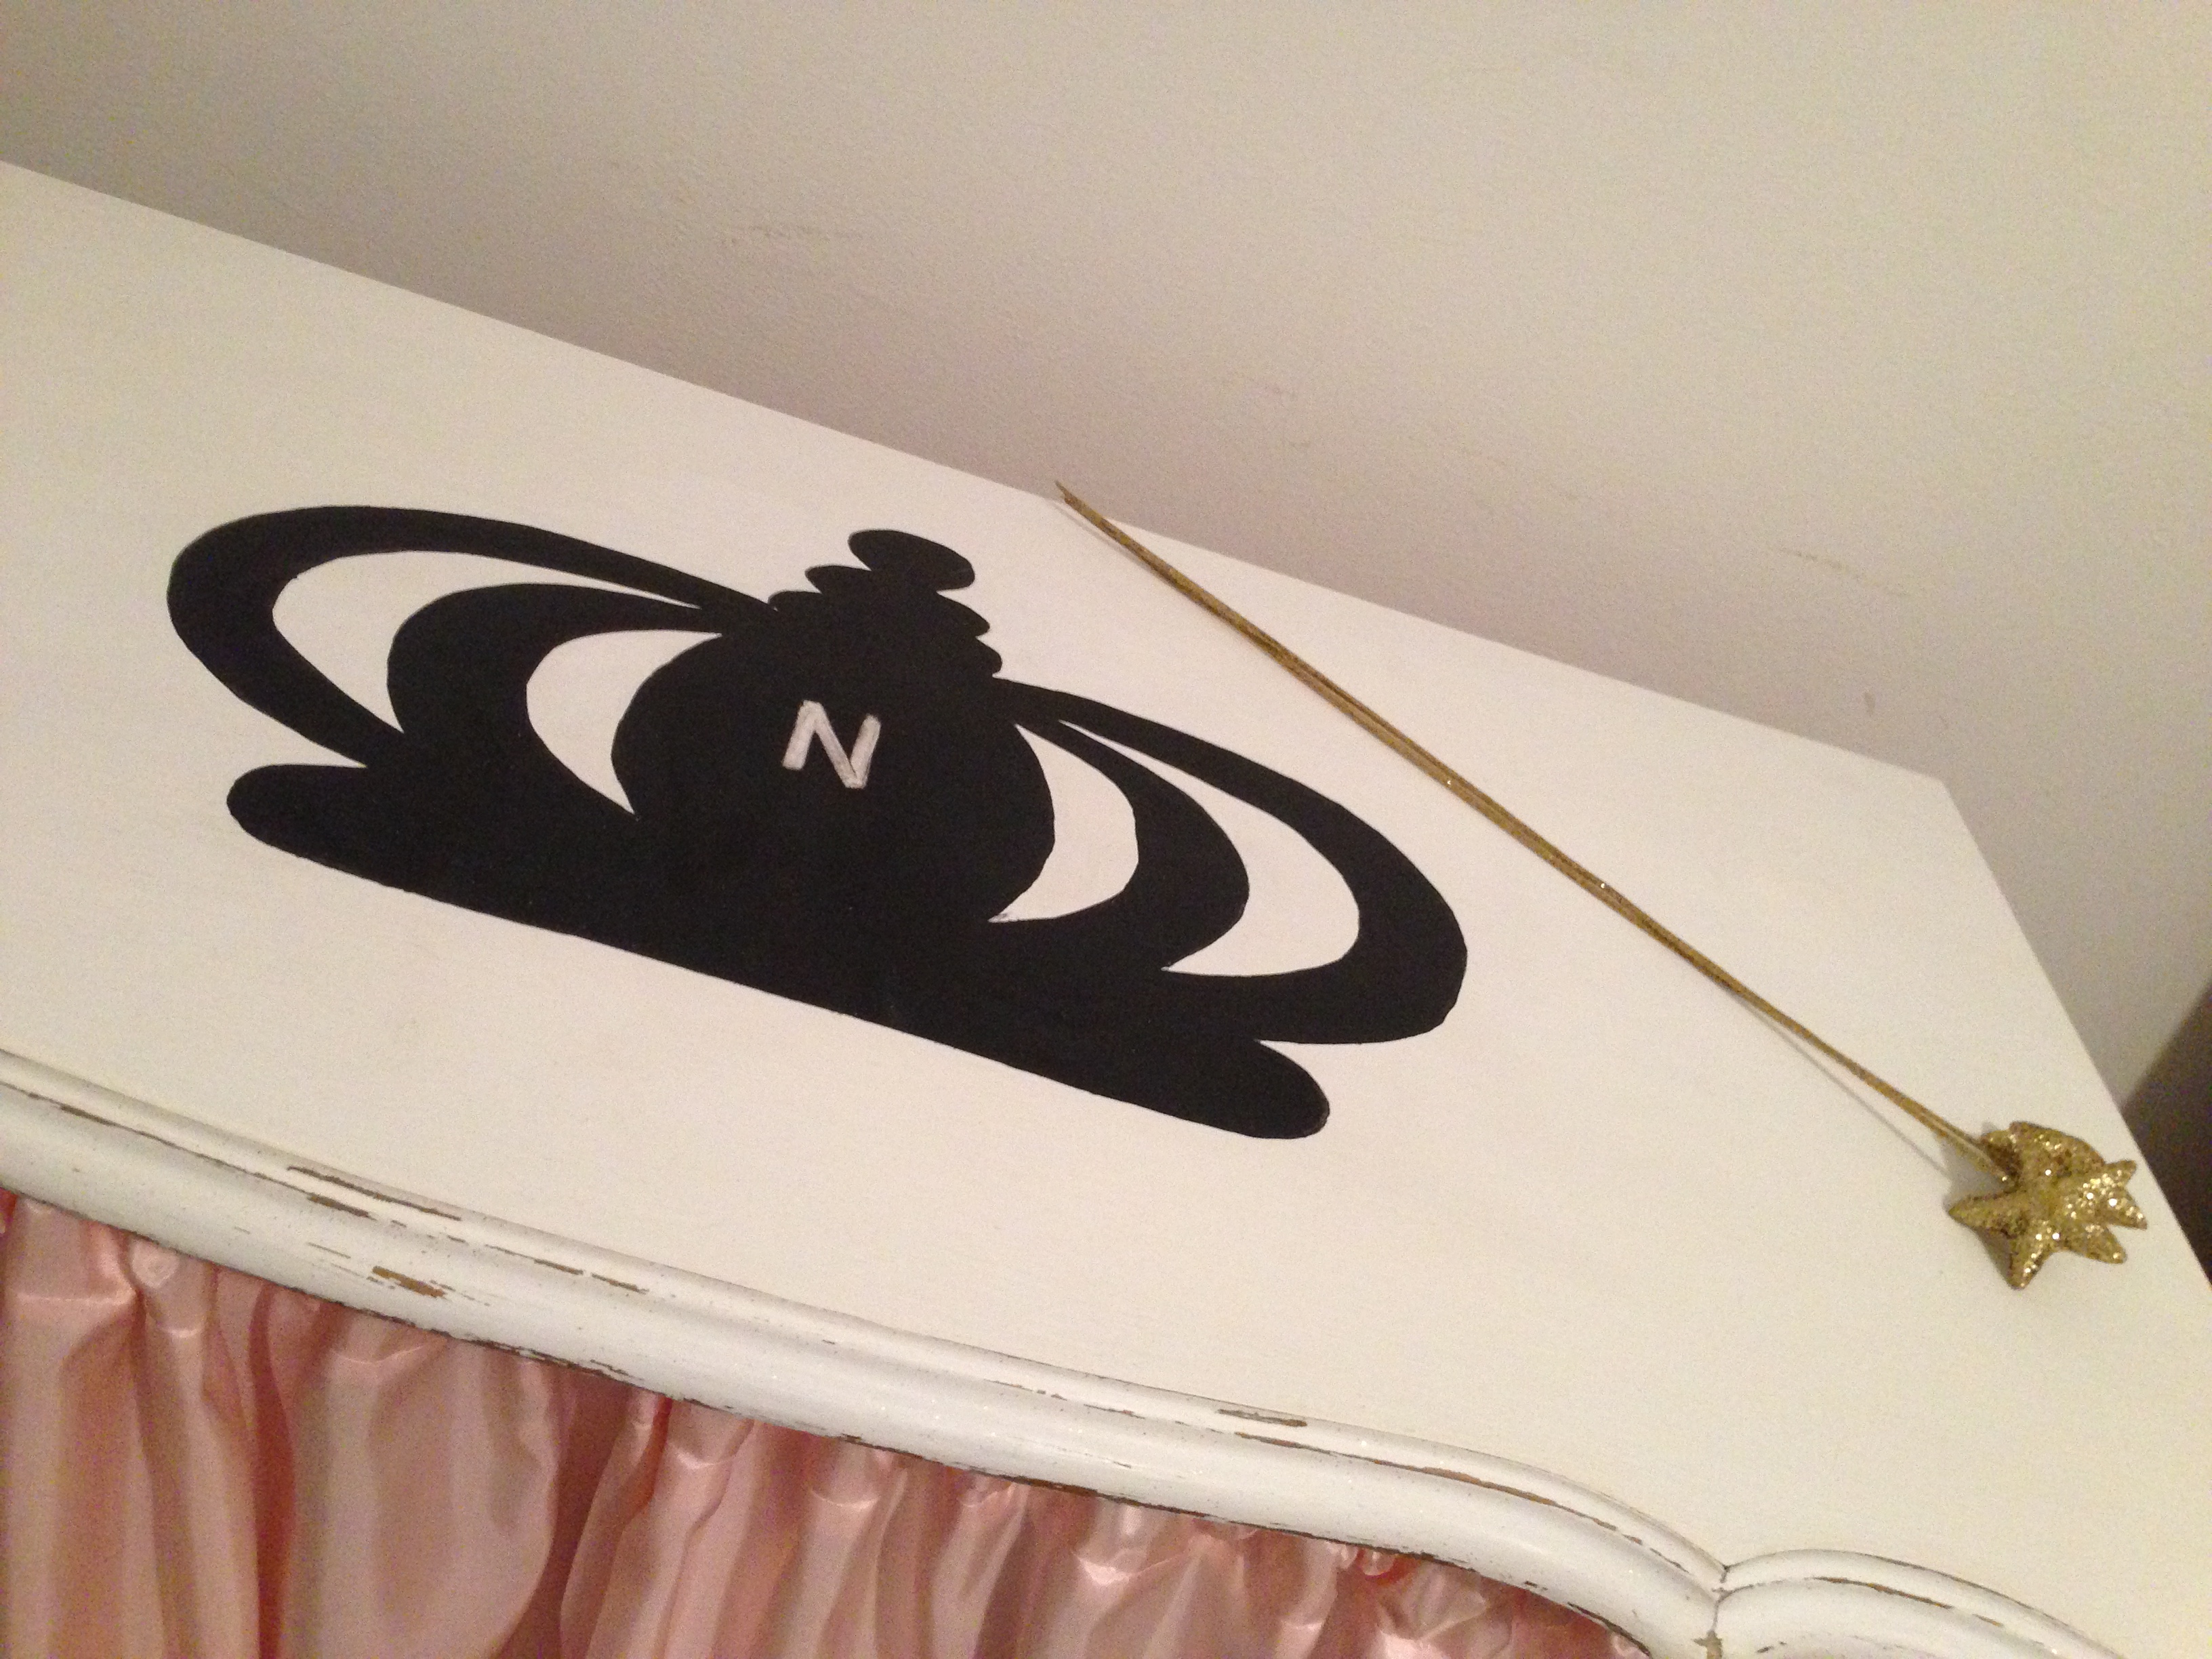
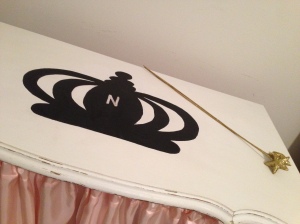
Remember the crown from earlier? Well, I taped that sheet of paper down to the top of some contact paper and cut it out with an exacto knife. Now, remember that when you’re cutting a stencil, you actually want to keep any of your overcuts in the black part of your image, that way, when you peel the insides out, your stencil itself is smooth and straight and the “guts” of it, so to speak, are the ones with any rough areas. (I hope that makes sense.) I peeled the back of the contact paper off and stuck it to the top of the dressser, just painting over it with black paint. As you would with any other stencil, I recommend using a pouncer so the paint doesn’t bleed under the tape/contact paper. It will save a lot of touch ups later. Here are some that I like to use (and should have on this project to save some headache. ha!): http://www.amazon.com/Martha-Stewart-32243-Foam-Pouncers/dp/B007C7XPME.
Finally, the bottom drawer is the only one I kept, and for this dresser it was made to look like two drawers, so it was extra deep. I thought shoes and jewelry might easily fit down there. I painted the outside the most beautiful blush pink, while also dry brushing it on the details on the bottom legs; used the existing hardware; and then took scrap booking paper I already had and modge podged it to the inside (Get it: Princess!?):

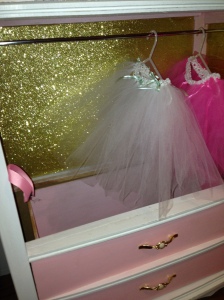
I put another tension rod and hangers from the baby section (10 for $1) to hold clothes on the inside, including those adorable little tutus I made (that I will share instructions for in a later post). I then finally finished the outside with a coat of wax. And that, my friends, is basically it. I would like to attach a mirror to the side, but I have to find one I fall in love with first. If only it were as easy as kissing a frog.
All in all, not nearly as hard of a project as I thought it was going to be, and was honestly a true joy to work on, being right up my alley. Let’s take a final minute to “ooh, ahh” at her beauty! *sigh*